Choose the source
Select a well-lit mug photo with its handle fully visible. Check that the rim is sharp and that the original surface does not obscure the base.
Background editing
A convincing replacement starts with a clear subject and a background that fits the photo. Use this guide to plan the edit, then check the edges, lighting, and details before using the result.
Photoroom is a separate product. This independent guide links to Supavisual, whose uploads require sign-in and AI tools require a paid subscription. The link opens its home page; no image or prompt is carried over. Any paired images here are illustrations of concepts, not verified processing results from this site or Supavisual.
Explore Supavisual image tools
Before you begin
Start with a photo you have permission to edit. These conditions matter more than an elaborate background description.
A replacement cannot reliably reconstruct an arm, product edge, or label concealed by an object in the original photo.
WorkaroundChoose a source image with the whole subject visible, or retake the photo.
Hair, fur, glass, and loose fabric may blend with the original surroundings, making the boundary difficult to separate cleanly.
WorkaroundUse a sharper source image and inspect the outline at a larger size.
A vague request such as “make it better” gives little guidance about color, setting, or where the subject should sit.
WorkaroundName the setting, surface, color palette, and intended use in a short description.
Worked example
Imagine preparing a photo of a ceramic mug for a product listing. The goal is a calmer setting without changing the mug itself.
Select a well-lit mug photo with its handle fully visible. Check that the rim is sharp and that the original surface does not obscure the base.
Ask for a warm, neutral studio backdrop and a simple tabletop. Specify that the mug, its color, and any printed design should stay unchanged.
Look closely at the handle opening, rim, base, and contact shadow. If the mug appears to float or a printed detail shifts, revise the edit or use another source photo.
Choose an approach
The right next step depends on whether you need a replacement scene, a clean cutout, or a clearer source image.
Start with a cutout when you want to separate the subject before deciding what goes behind it.
Consider image enhancement when softness or poor detail makes the original photo hard to work with.
Review the broader online-editing route if you have not yet chosen a specific kind of edit.
Visual check
Compare the subject area, not just the overall mood. A pleasing background is not enough if the edit changes the object you meant to keep.
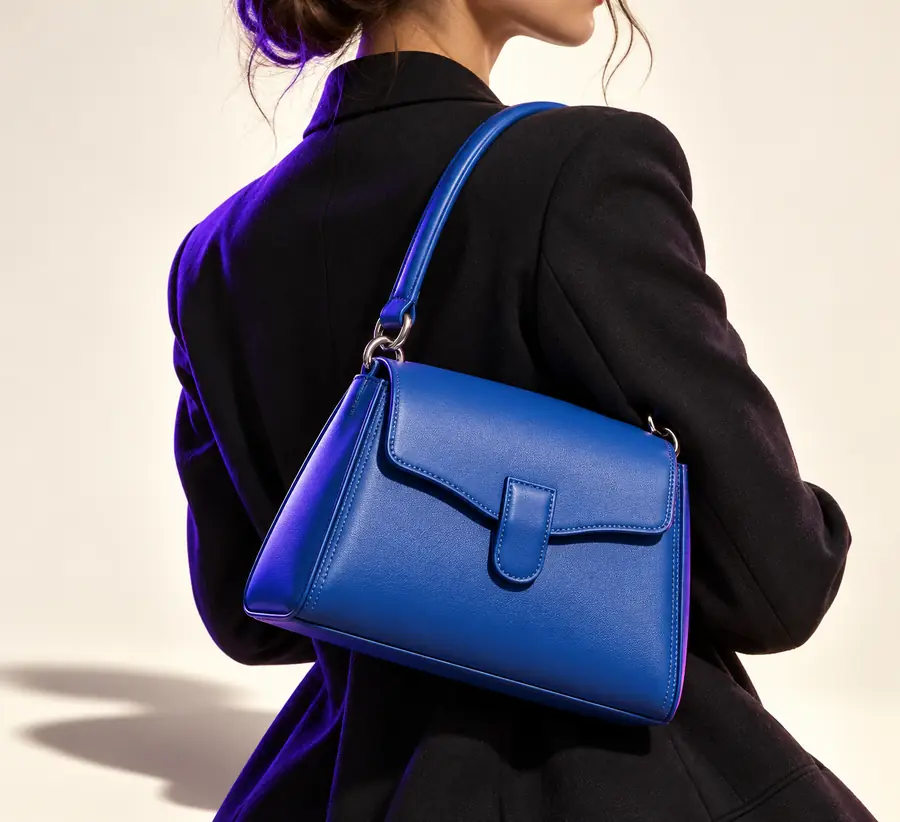
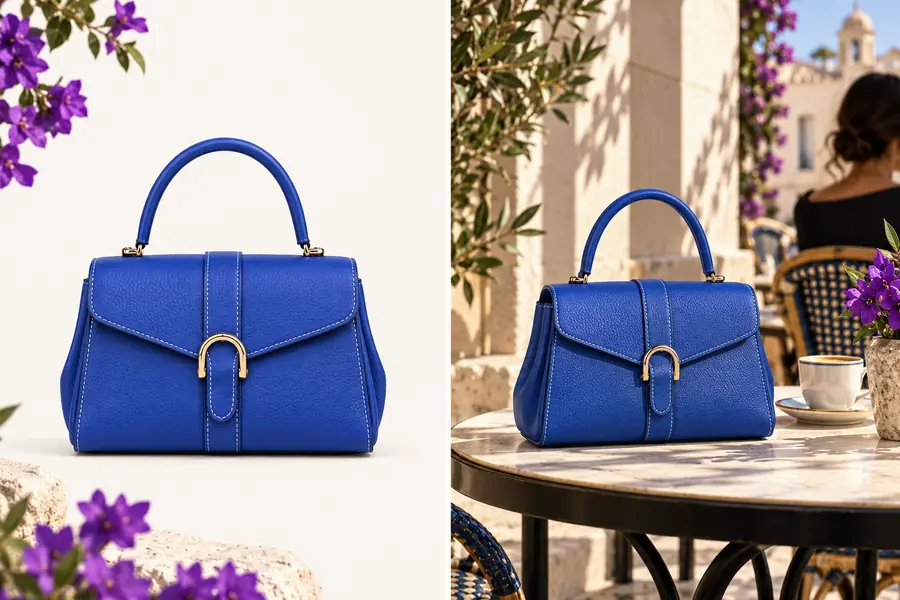
Illustrative images, not a guaranteed result from one source photo. For your own edit, compare the subject’s outline, proportions, and identifying details before accepting a new scene.
Common trouble spots
Different subjects reveal different weaknesses. Match the fix to the part of the photo that causes trouble.
A white bottle disappears against a pale replacement background, so its silhouette looks incomplete.
Choose a contrasting scene and check the bottle edge first. The photoroom remove background guide covers the cutout-first approach.
photoroom remove backgroundFine hair picks up colors from the old scene, leaving a visible halo against the new one.
Try a sharper source and inspect the hairline at full size. The photoroom enhancer free guide discusses improving source-image clarity.
photoroom enhancer freeA replacement tabletop looks attractive, but the product has no believable contact shadow.
Describe the surface and light direction, then check where the product meets the table. The photoroom remove background guide helps distinguish isolation from scene replacement.
photoroom remove backgroundA small, compressed source photo makes fabric and lettering look unstable after editing.
Return to the largest available original and verify any text against it. The photoroom enhancer free guide is useful when source detail is the main concern.
photoroom enhancer freeDescribe what should stay unchanged, where the subject should appear, and how the light should feel. After the edit, compare it with your original before using it publicly.
Begin with a photo you are allowed to edit and a clear idea of the replacement setting. A sharp image with the full subject visible gives you more to work with than a cropped or blurry one.
Not necessarily. A cutout is useful when you want to inspect the subject boundary or reuse the subject in several scenes; a direct replacement may be enough for a single finished image. Either way, check the outline afterward.
The subject and scene may disagree on light direction, perspective, or shadow. Try a setting that fits the original camera angle, and inspect where the subject touches the ground or surface.
Changing the surroundings does not restore detail that the source photo never captured. If the subject itself is soft, find a sharper original or retake the picture before working on the background.
Compare the edited image with the source at a large viewing size. Check fine edges, product labels or clothing details, natural shadows, and whether the new setting suits the image’s intended use.